


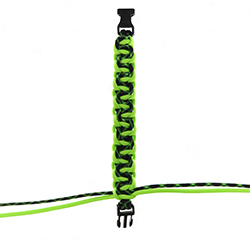
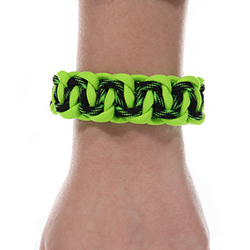
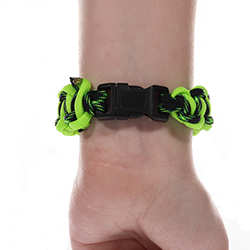
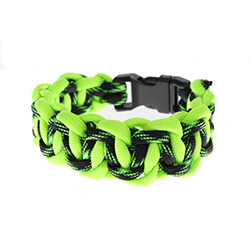
The Cobra Belly Paracord Bracelet is similar to the basic cobra weave, but with two colors alternating sides of the weave to form a zig-zag pattern. In this tutorial, we use Neon Green for the outside and Decay for the center. We also used a 1/2” Black Buckle.
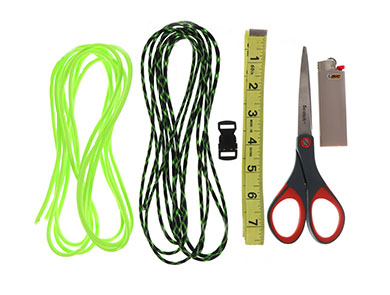
Supplies Needed:
- Two different colors of nylon 550 paracord, 8-10 feet in length
- 1/2" Buckle
- Tape Measure or Ruler
- Scissors
- Lighter
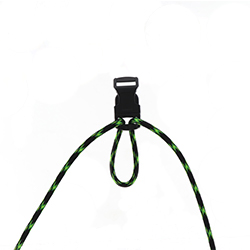
1.
Choose one color to start (this will be the center color of the bracelet) and form a loop to put through the top of the buckle.
2.
Find the two ends and bring them through the loop to create a cow hitch knot.
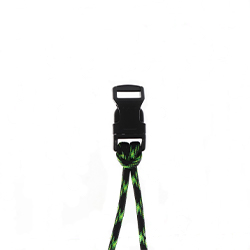
3.
Take the two ends again and run them through the top of the other part of the buckle.
4.
Pull the strands through until the bracelet is at your desired length. This can be done by measuring the paracord with your wrist and making sure two fingers can fit underneath, or by measuring your wrist with a tape measure and adding an inch to the overall length.
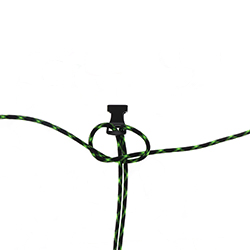
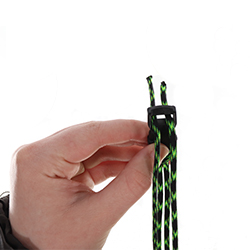
5.
Start making a Solomon knot by placing the left cord over the top of the middle and place the right cord under the middle. Move the right cord into the left loop and pull the two strands but do not tighten the knot completely.
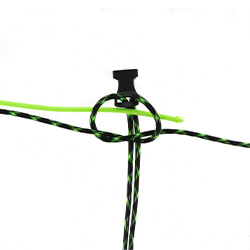
6.
Grab the other piece of paracord and insert one end into the loop. Find the two ends and finish running the cord through the knot so that the middle is on top and the cords are even on both sides.
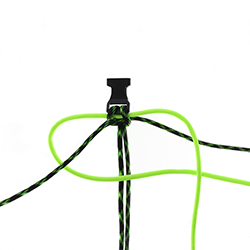
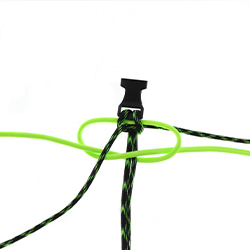
7.
Another Solomon knot will be made but with the other cord. It is important to note that the left cord will go under the other colored cord and over the middle. The right cord will then go over the top of the other colored cord and the left cord.
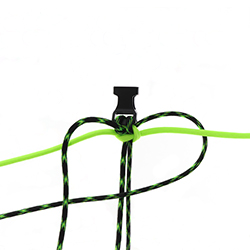
8.
After the cords are placed, the right cord will then go under the middle and through the left loop.
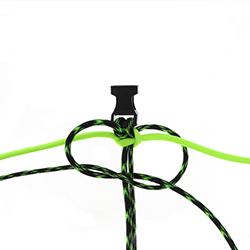
9.
The opposite will be done on the next Solomon knot. Go back to the first colored cord used and make sure the right cord goes under the other colored cord and over the middle. Then, the left cord will go over the other colored cord and the right cord.
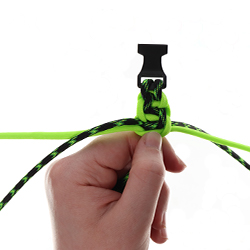
10.
When the cords are placed, the left cord will go under the middle before going through the right loop.
11.
Repeat the previous step with the other color making sure the left cord goes over the other colored cord, and the right cord goes under the other colored cord.
12.
The opposite of that will be done again, so there will be a pattern of the colors going from the left to the right in unison until the pattern is completed.
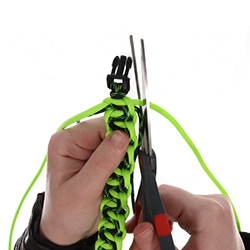
13.
Cut off the excess strands with your scissor.
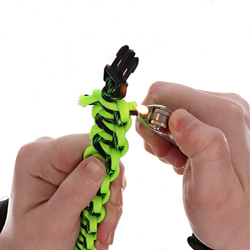
14.
Melt the ends with the lighter to prevent fraying.
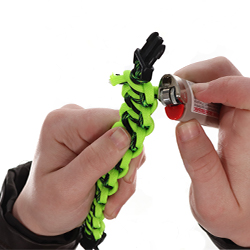
15.
Flatten the melted ends with the lighter to give the ends a flatter and larger surface to keep the bracelet from coming undone.
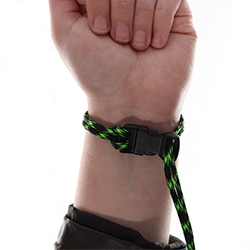
Your Cobra Belly Paracord Bracelet should look like this:
Any color of 550 paracord as well as a 1/2” buckle will work for this bracelet. To check out other tutorials for more step-by-step guidance, click here.